
Nail art today, has become a very common and popular trend according to the present style statement. It includes hundreds of techniques, styles that give stunning look to your nails and make you the centre of attraction everywhere. If you are also among those who find it boring to paint the nails simply in a particular colour then nail art is just a breeze of fresh air for you.

You all must have heard about abstract art and would surely find it fascinating enough to catch the fancy of everyone who loves something vibrant and unique. In recent times, abstract art is considered very valuable and is supposed to have a deep meaning. So, how can this fabulous art form remain untouched by the world of nail art? Abstract nail art is getting much attention these days and has become a style statement of modern and fashionable women.

This very unique technique of nail art gives you a cool and interesting look that you can flaunt anywhere and everywhere and your friends would surely get jealous of you. Although seems tough, but this pretty nail art is very easy to do on your own. So, there is no need of visiting salons and spend bucks. We are providing you the tutorial for abstract nail art that you can perform very easily. Let us have a glance:
WHAT YOU NEED?
- Acrylic colours in black, white, orange, pink and green shades.
- A base coat
- Glitter nail polish
- Nail paint remover and a cotton bud
- A thin nail art brush
- A top coat
- Small plastic pearls
- A toothpick
 WHAT TO DO?
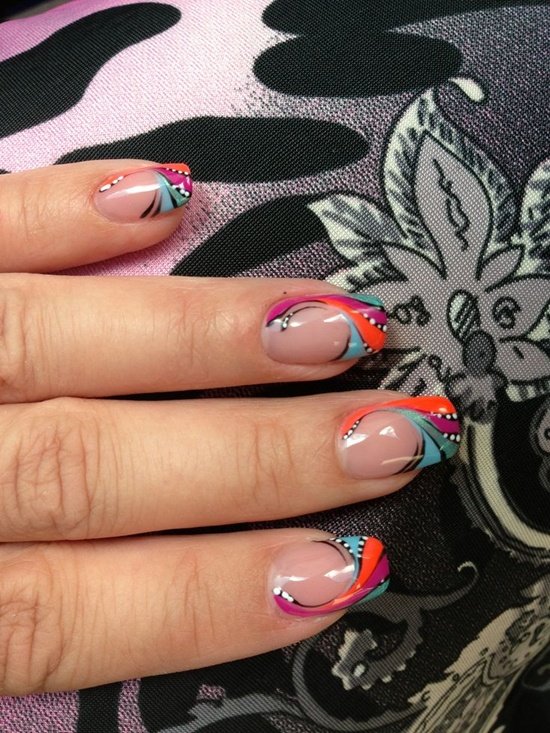
- Apply two coats of a nice base on your nails and then use a white acrylic colour to draw a design on all the nails as shown in picture.
- Now the design should be filled in using the same white colour.
- On every nail, the left portion of the design is filled with pink colour.
- In the same way, the right side of the nails should be filled in using green colour. But remember to leave a little space at the bottom.
- The space left out in the above step has to be filled now using orange colour.
- Here comes the turn of using black colour which is used to create an outline and some abstract joint curves. The design should look like as the one shown in picture.
- In case you create a mess with the black colour, do not worry because you can draw an inside border along black lines using white colour after black.
- In order to give a flashy look, you can apply glitter polish on the design area. Also, you can use loose glitters and for this, the coloured area is first coated with a thin layer of top coat. Then glitters are taken up with a dry brush and patted over the transparent polish. There is no need of applying top coat again as you would need it after applying pearls.
- Now fix the small pearls on the top of nails by using nail art glue.
- Apply a thick layer of top coat after fixing pearls so that they get sealed in the design and do not get detached.
- Use a cotton bud dipped in nail paint remover to clean up any stray polish or colour from the edges.

Now, you are ready with the final look.
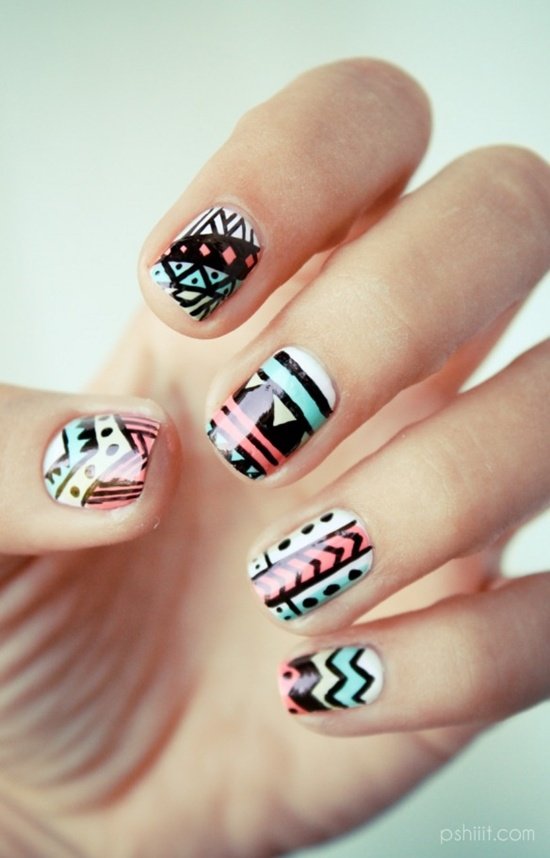
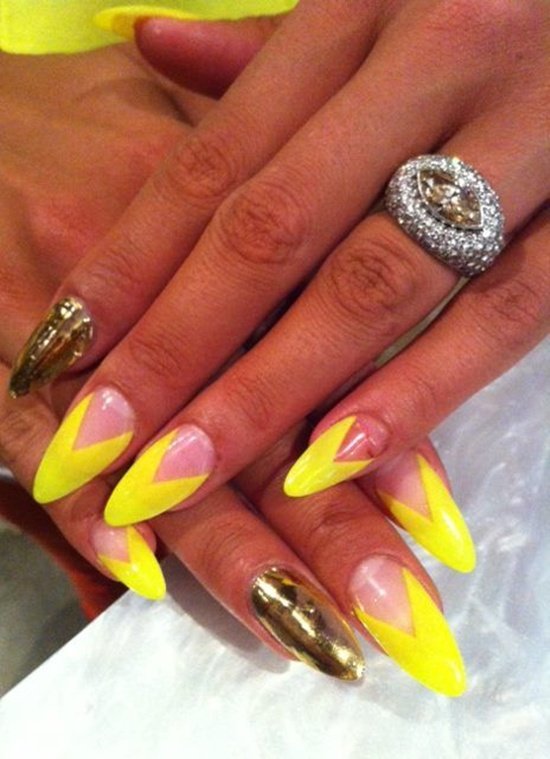
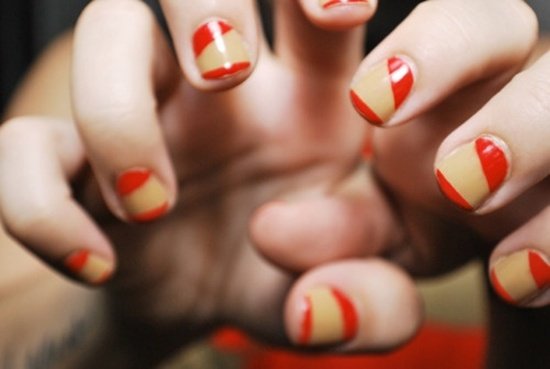
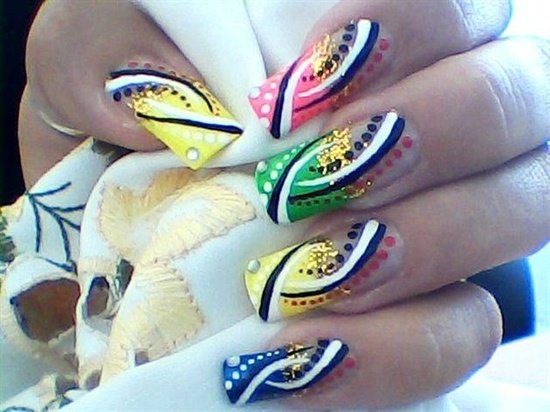
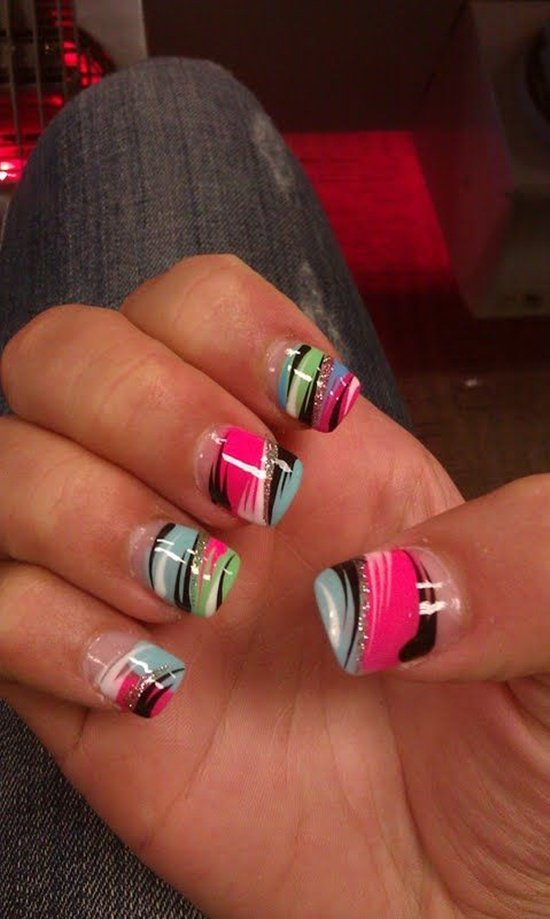
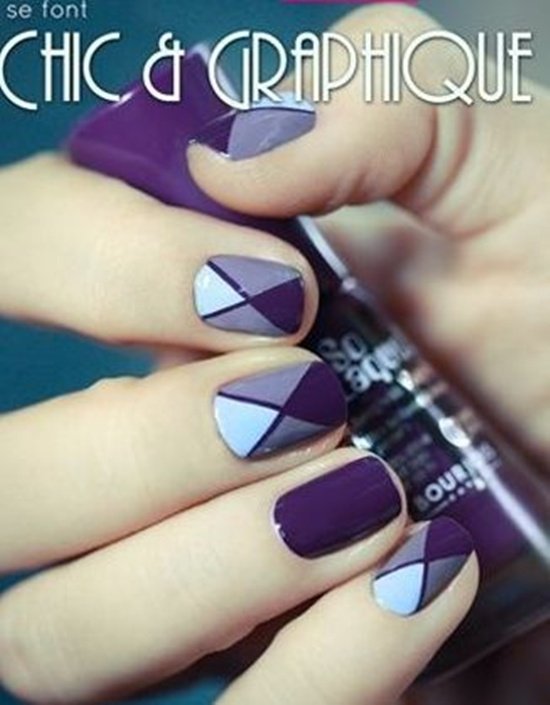
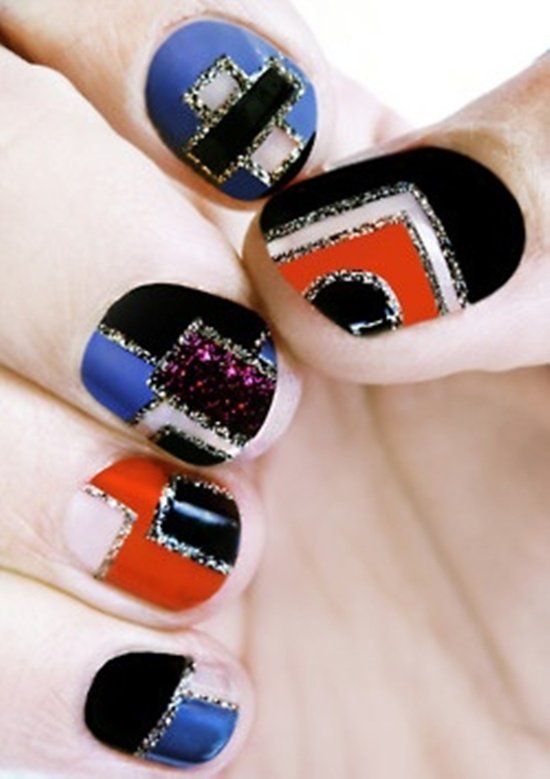
So, with these simple steps you are ready to flaunt your nails and become the centre of attraction. Some example for Abstract Nail Art here: